RAM (Random Access Memory) is the working memory of a computer that operates almost every function. Whenever you load a program or input data related to a query, it will be transferred to RAM and then read by it to process the instructions.
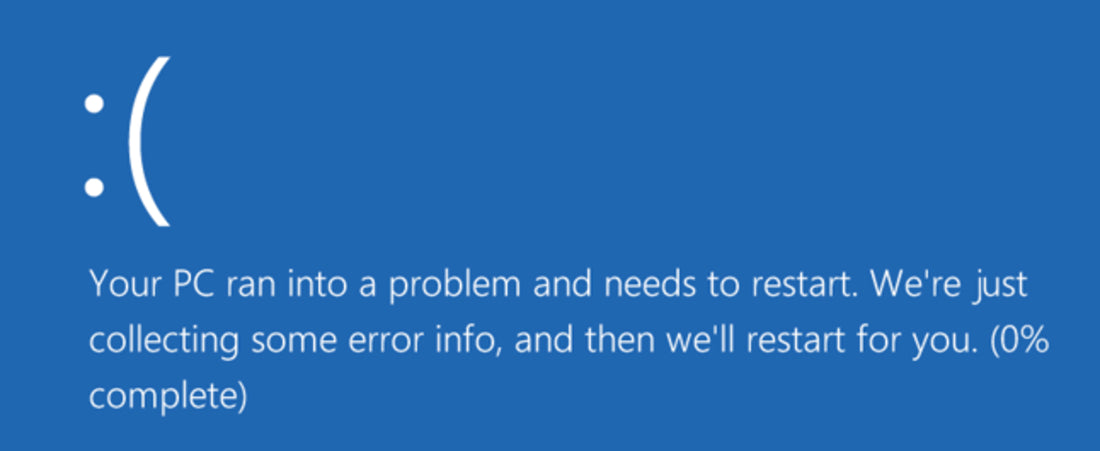
But faults in this memory can cause problems like application crashes, system not responding, freezing or the dreaded blue screen of death.
To get an idea about the health of your system's RAM, you can use Windows memory diagnostic tool. It is a built-in tool that can help you in this regard.
This article will describe this particular tool, how it works, benefits, and how to use it. Let us show you all of these steps by step.
Overview of Windows Memory Diagnostic
It is a built-in tool for Windows operating system to check the RAM's health and issues. Windows memory diagnostic tool is available in every Window version after Windows 7. Does not matter the version you are using in your device, you can access this tool and perform this test.
This tool is completely free for everyone without any registration requirements. You can use this tool with a little knowledge of the system and proficiency in working with it. With the help of this diagnostic tool, you can get results regarding memory problems. All in all, it will be a good choice for you to pick and look for problems in RAM to get them resolved.
How to Check RAM with Windows Memory Diagnostic?
Before checking RAM with this diagnostic tool, you should need to take some precautions. Be mindful that this process needs a quick restart after following some steps. So, you should have to save your files (if working) before starting the process. If you have not done this, you will face problems because the lost data is not recoverable.
Now, let us show you the process.

For Windows 10 and 11, right-click the Start icon and choose Run or click the Search icon, enter mdsched and press enter.

Select Restart Now And Check For Problems or select Check For Problems The Next Time I Start My Computer. If you opt to restart and run the tool now, remember to save your work and close any open programs before doing so. Once the machine restarts, the tool will launch and run the memory test.

You can press F1 to change the test options or let it run with the standard settings.

The Standard test should work for most troubleshooting scenarios. Let the test run, which can take upwards of 20 or 30 minutes depending on your memory configuration.
Once the test is complete, Windows will continue to start and a pop-up will eventually appear showing the results.
You can also view the results by right-clicking the Start icon, selecting Computer Management, expanding Event Viewer, expanding Windows Logs, clicking System and then selecting the most recent log with MemoryDiagnostics-Results as the source.

If you’re lucky, you won’t see any errors. If any errors are listed, your RAM might be faulty.
This may only require unseating and cleaning the memory and the related slots — compressed air works well for this — but if the issues persist, it may be time to replace your RAM.
If you have multiple RAM DIMMs, I recommend buying and then swapping each in turn before re-running the memory test to isolate the defective RAM. You may not need to pay to replace multiple DIMMs if only one is faulty.
If you have more questions or enquiries kindly drop them on the comment section below.